Prerequisites
Before we begin, make sure the following components are installed on your workstation:
This tutorial has been written for and tested with Hadoop version 0.19.1. If you are using another version, some things may not work.
Make sure you have exactly the same versions of the software as shown above. Hadoop will not work with versions of Java earlier than 1.6 and versions of Eclipse later than 3.3.2 due to plug-in API incompatibility.
Installing Cygwin
After installing the prerequisite software, the next step is to install the Cygwin environment. Cygwin is a set of Unix packages ported to Microsoft Windows. It is needed to run the scripts supplied with Hadoop because they are all written for the Unix platform.
To install the cygwin environment follow these steps:
- Download cygwin installer from http://www.cygwin.com.
- Run the downloaded file. You will see the window shown on the screenshots below.
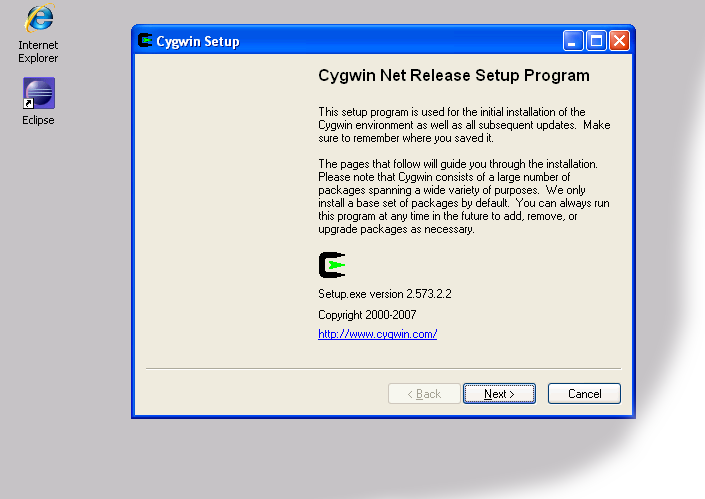 Cygwin Installer
 - When you see the above screenshot, keep pressing the 'Next' button until you see the package selection screen shown below. Make sure you select 'openssh'. This package is required for the correct functioning of the Hadoop cluster and Eclipse plug-in.
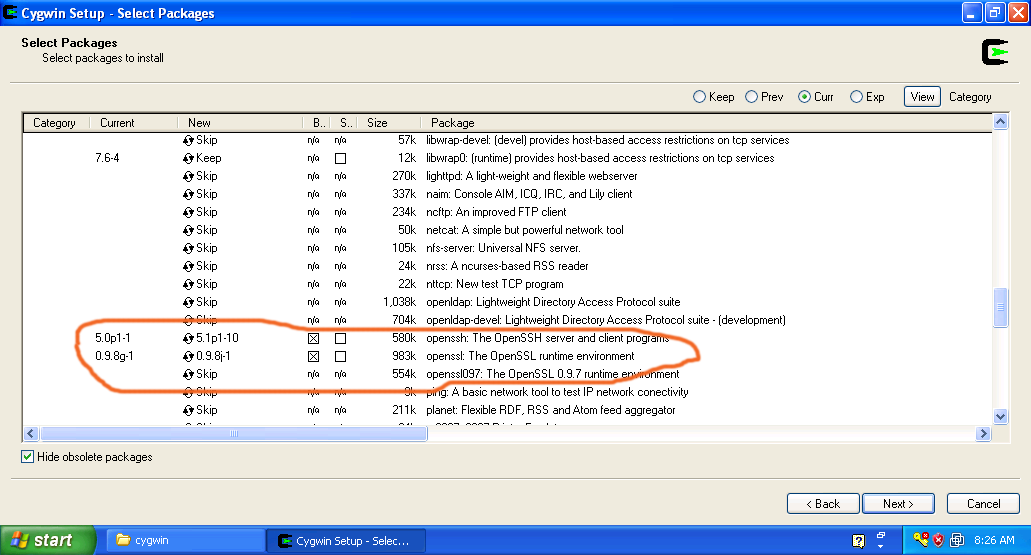
- After you selected these packages press the 'Next' button to complete the installation.
![]()
If you have questions comments suggestions regarding this tutorial you can post them here or you can write me an email to tutorials AT v-lad.org.