Start the local hadoop cluster
Next step is to launch the newly configured cluster.
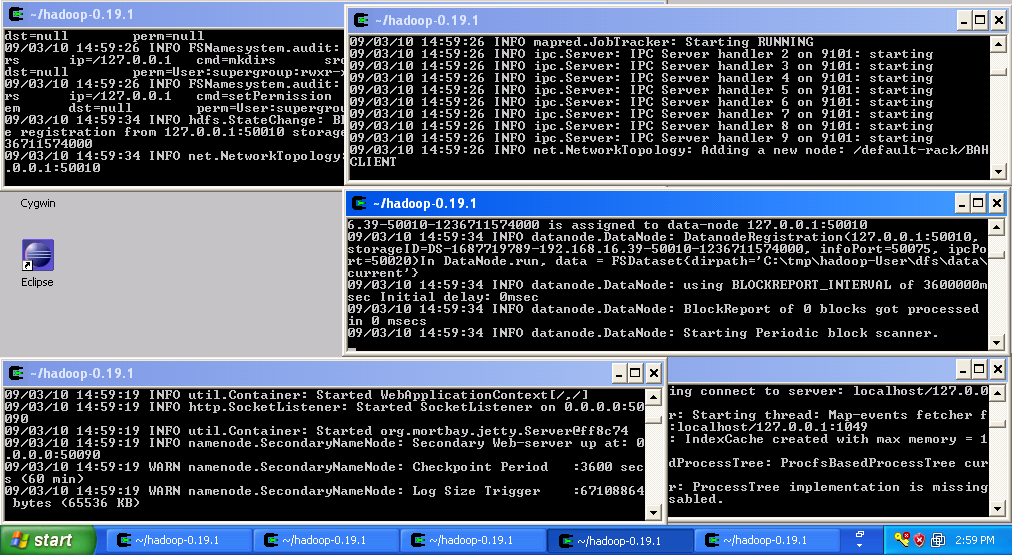
- Close all the windows on the desktop, open five Cygwin windows and arrange them as shown below.

- Start the namenode in the first window by executing:
cd hadoop-0.19.1
bin/hadoop namenode - Start the secondary namenode in the second window by executing:
cd hadoop-0.19.1
bin/hadoop secondarynamenode - Start the job tracker the third window by executing:
cd hadoop-0.19.1
bin/haoop jobtracker - Start the data node the fourth window by executing:
cd hadoop-0.19.1
bin/haoop datanode - Start the task tracker the fifth window by executing:
cd hadoop-0.19.1
bin/haoop tasktracker - Now you should have an operational hadoop cluster. If everthing went fine your screen should look like the image below:
At this point the cluster is running and you can proceed to the next step.
![]()
If you have questions comments suggestions regarding this tutorial you can post them here or you can write me an email to tutorials AT v-lad.org.