Setup Hadoop Location in Eclipse
Next step is to configure Hadoop location in the Eclipse environment.
- Launch the Eclipse environment.
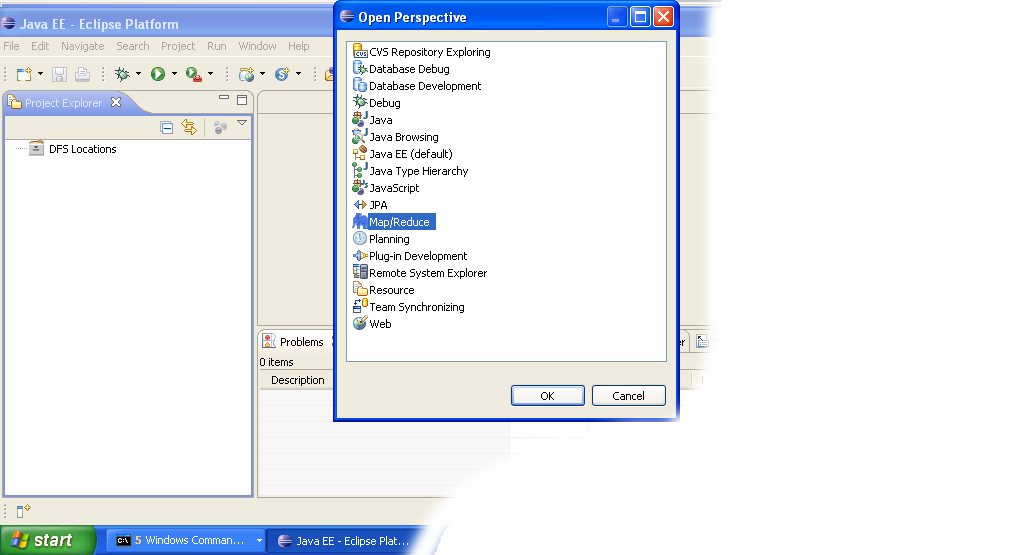
- Open Map/Reduce perspective by clicking on the open perspective icon (
 ), select "Other" from the menu, and then select "Map/Reduce" from the list of perspectives.
-
After switching to the Map/Reduce perspective, select the Map/Reduce Locations tab located at the bottom of the Eclipse environment. Then right click on the blank space in that tab and select "New Hadoop location...." from the context menu. You should see a dialog box similar to the one shown below.

Setting up new Map/Reduce location
- Fill in the following items, as shown on the figure above.
- Location Name -- localhost
- Map/Reduce Master
- Host -- localhost
- Port -- 9101
- DFS Master
- Check "Use M/R Master Host"
- Port -- 9100
- User name -- User
Then press the Finish button.
- After closing the Hadoop location settings dialog you should see a new location in the "Map/Reduce Locations" tab.
- In the Project Explorer tab on the left hand side of the Eclipse window, find the DFS Locations item. Open it using the "+" icon on its left. Inside, you should see the localhost location reference with the blue elephant icon. Keep opening the items below it until you see something like the image below.
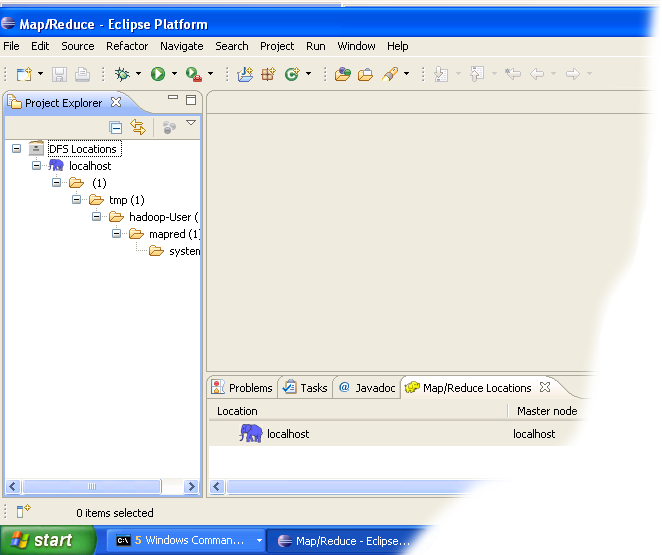
- Browsing HDFS location
You can now move on to the next step.
![]()
If you have questions comments suggestions regarding this tutorial you can post them here or you can write me an email to tutorials AT v-lad.org.