Create and run Hadoop project
Now we are ready to create and run out first Hadoop project.
Creating and configuring Hadoop eclipse project.
- Launch Eclipse.
- Right-click on the blank space in the Project Explorer window and select New -> Project.. to create a new project.
- Select Map/Reduce Project from the list of project types as shown in the image below.

- Press the Next button.
- You will see the project properties window similar to the one shown below
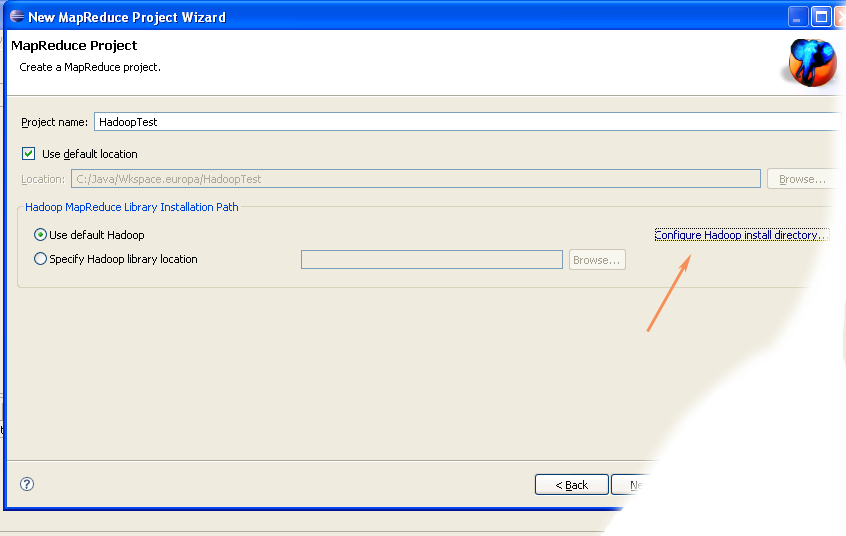
- Fill in the project name and click on Configure Hadoop Installation link on the right hand side of the project configuration window. This will bring up the project Preferences window shown in the image below.
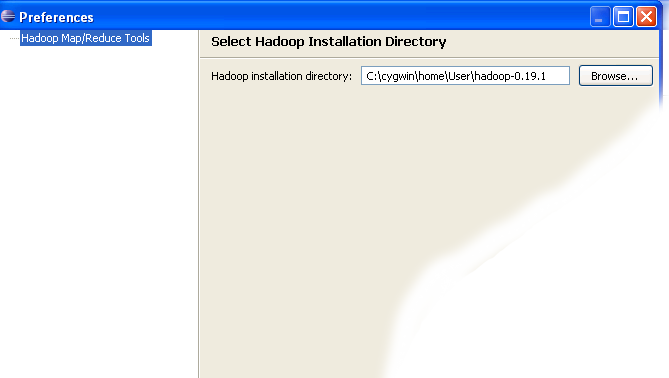
- In the project Preferences window enter the location of the Hadoop directory in the Hadoop installation directory field as shown above.
If you are not sure of the location of the Hadoop home directory, refer to Step 1 of this section. Hadoop home directory is one level up from the conf directory.
- After entering the location close the Preferences window by pressing the OK button. Then close the Project window with the Finish button.
- You have now created your first Hadoop Eclipse project. You should see its name in the Project Explorer tab.
Creating Map/Reduce driver class
- Right-click on the newly created Hadoop project in the Project Explorer tab and select New -> Other from the context menu.
- Go to the Map/Reduce folder, select MapReduceDriver, then press the Next button as shown in the image below.

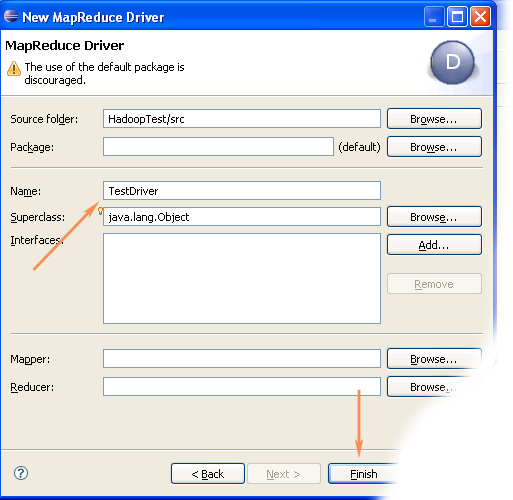
- When the MapReduce Driver wizard appears, enter TestDriver in the Name field and press the Finish button. This will create the skeleton code for the MapReduce Driver.
- Unfortunately the Hadoop plug-in for Eclipse is slightly out of step with the recent Hadoop API, so we need to edit the driver code a bit.
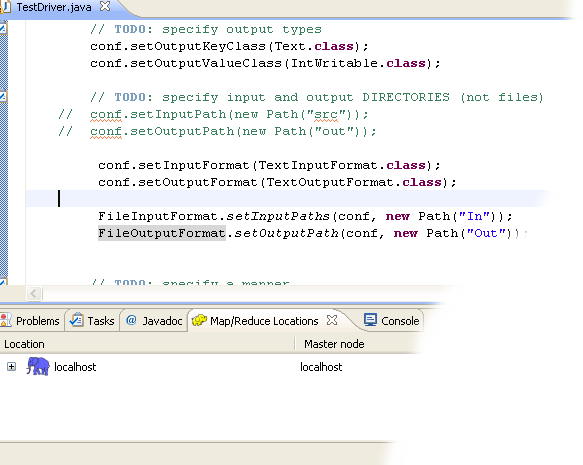
Find the following two lines in the source code and comment them out:
conf.setInputPath(new Path("src"));
conf.setOutputPath(new Path("out"));Enter the following code immediatly after the two lines you just commented out (see image below):
conf.setInputFormat(TextInputFormat.class);
conf.setOutputFormat(TextOutputFormat.class);
FileInputFormat.setInputPaths(conf, new Path("In"));
FileOutputFormat.setOutputPath(conf, new Path("Out"));
- After you have changed the code, you will see the new lines marked as incorrect by Eclipse. Click on the error icon for each line and select Eclipse's suggestion to import the missing class.
You need to import the following classes: TextInputFormat, TextOutputFormat, FileInputFormat, FileOutputFormat.
- After the missing classes are imported you are ready to run the project.
Running Hadoop Project
- Right-click on the TestDriver class in the Project Explorer tab and select Run As --> Run on Hadoop. This will bring up a window like the one shown below.
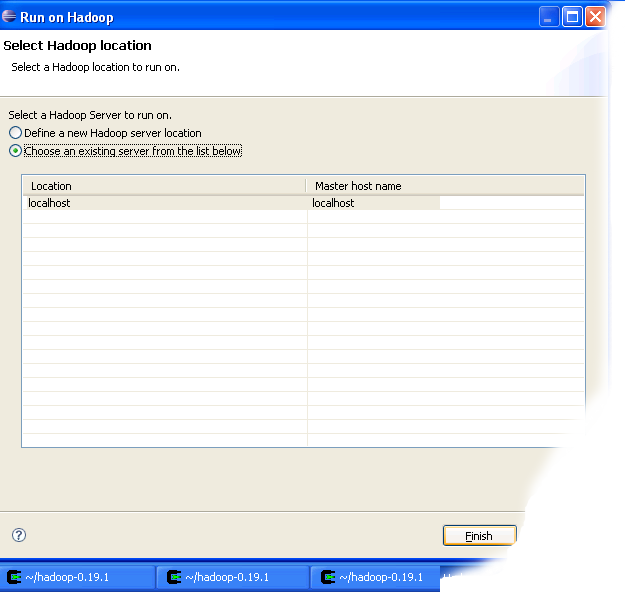
- In the window shown above select "Choose existing Hadoop location" , then select localhost from the list below. After that click Finish button to start your project.
- If you see console output similar to the one shown below, Congratulations! You have started the project successfully!
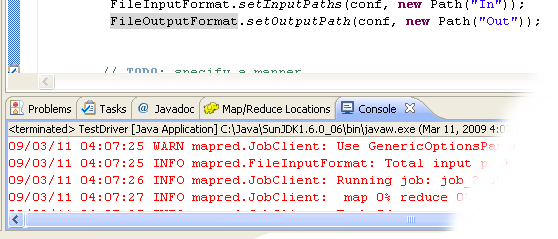
![]()
If you have questions comments suggestions regarding this tutorial you can post them here or you can write me an email to tutorials AT v-lad.org.